[ad_1]
For any who did not play the unique, the sheer variety of Stratagems in Helldivers 2 may appear a bit overwhelming. There are such a lot of completely different flavours of destruction that you could carry to bear on the battlefield in opposition to bugs and bots that it is arduous to know what you need to prioritise spending your valuable credit on when unlocking them in Ship Administration.
One other strategy to buff your squad is to unlock and equip a Booster within the Warbond retailer, although bear in mind that these do not stack, so having completely different ones energetic in a staff is right. Both manner, listed below are the most effective Stratagems in Helldivers 2. I’ve damaged down my suggestions into the sections that you could buy every of those in.
Patriotic Administration Centre
Stalwart
Whereas the bottom Machine Gun could be very sturdy, the Stalwart is a lighter model that removes that weapon’s major downside with quicker reload instances. Should you pair this with the Provide Pack early on, you’ll be able to refill your ammo from the pack as you run out, and hold firing for days. It will not punch by way of armour, however it’ll kill absolutely anything else.
Anti-Materials Rifle
That is your greatest early-game anti-armour choice, nevertheless it additionally allows you to decide off troublesome enemies at an extended distance than lots of the different weapons if you happen to swap to first-person view whereas aiming. Equally, if an armoured enemy is charging ahead, you can even hip-fire at point-blank vary and unload all the magazine to make fast work of it.
Recoilless Rifle
One of the best anti-armour choice in Helldivers 2 for my cash; whereas staff weapons might be speedily reloaded if you happen to let another person carry the backpack, you’ll be able to simply carry it and reload them your self. This takes round so long as the Machine Gun reload, nevertheless it’s properly price it contemplating you get a weapon to take care of troublesome armoured enemies like Chargers. Simply ensure you arrange in a great place earlier than you begin firing.
Orbital Cannons
Orbital Gatling Barrage
The issue with a lot of the Orbital barrages in Helldivers 2 is that they’ve a really large unfold, usually making them lethal to different members of your squad, whereas nonetheless not guaranteeing you will truly hit the factor you wish to. The Orbital Gatling Barrage is nice as a result of it has a really brief cooldown and much like the airburst, covers a targeted space so you need to use it in a extra focused manner in opposition to enemies.
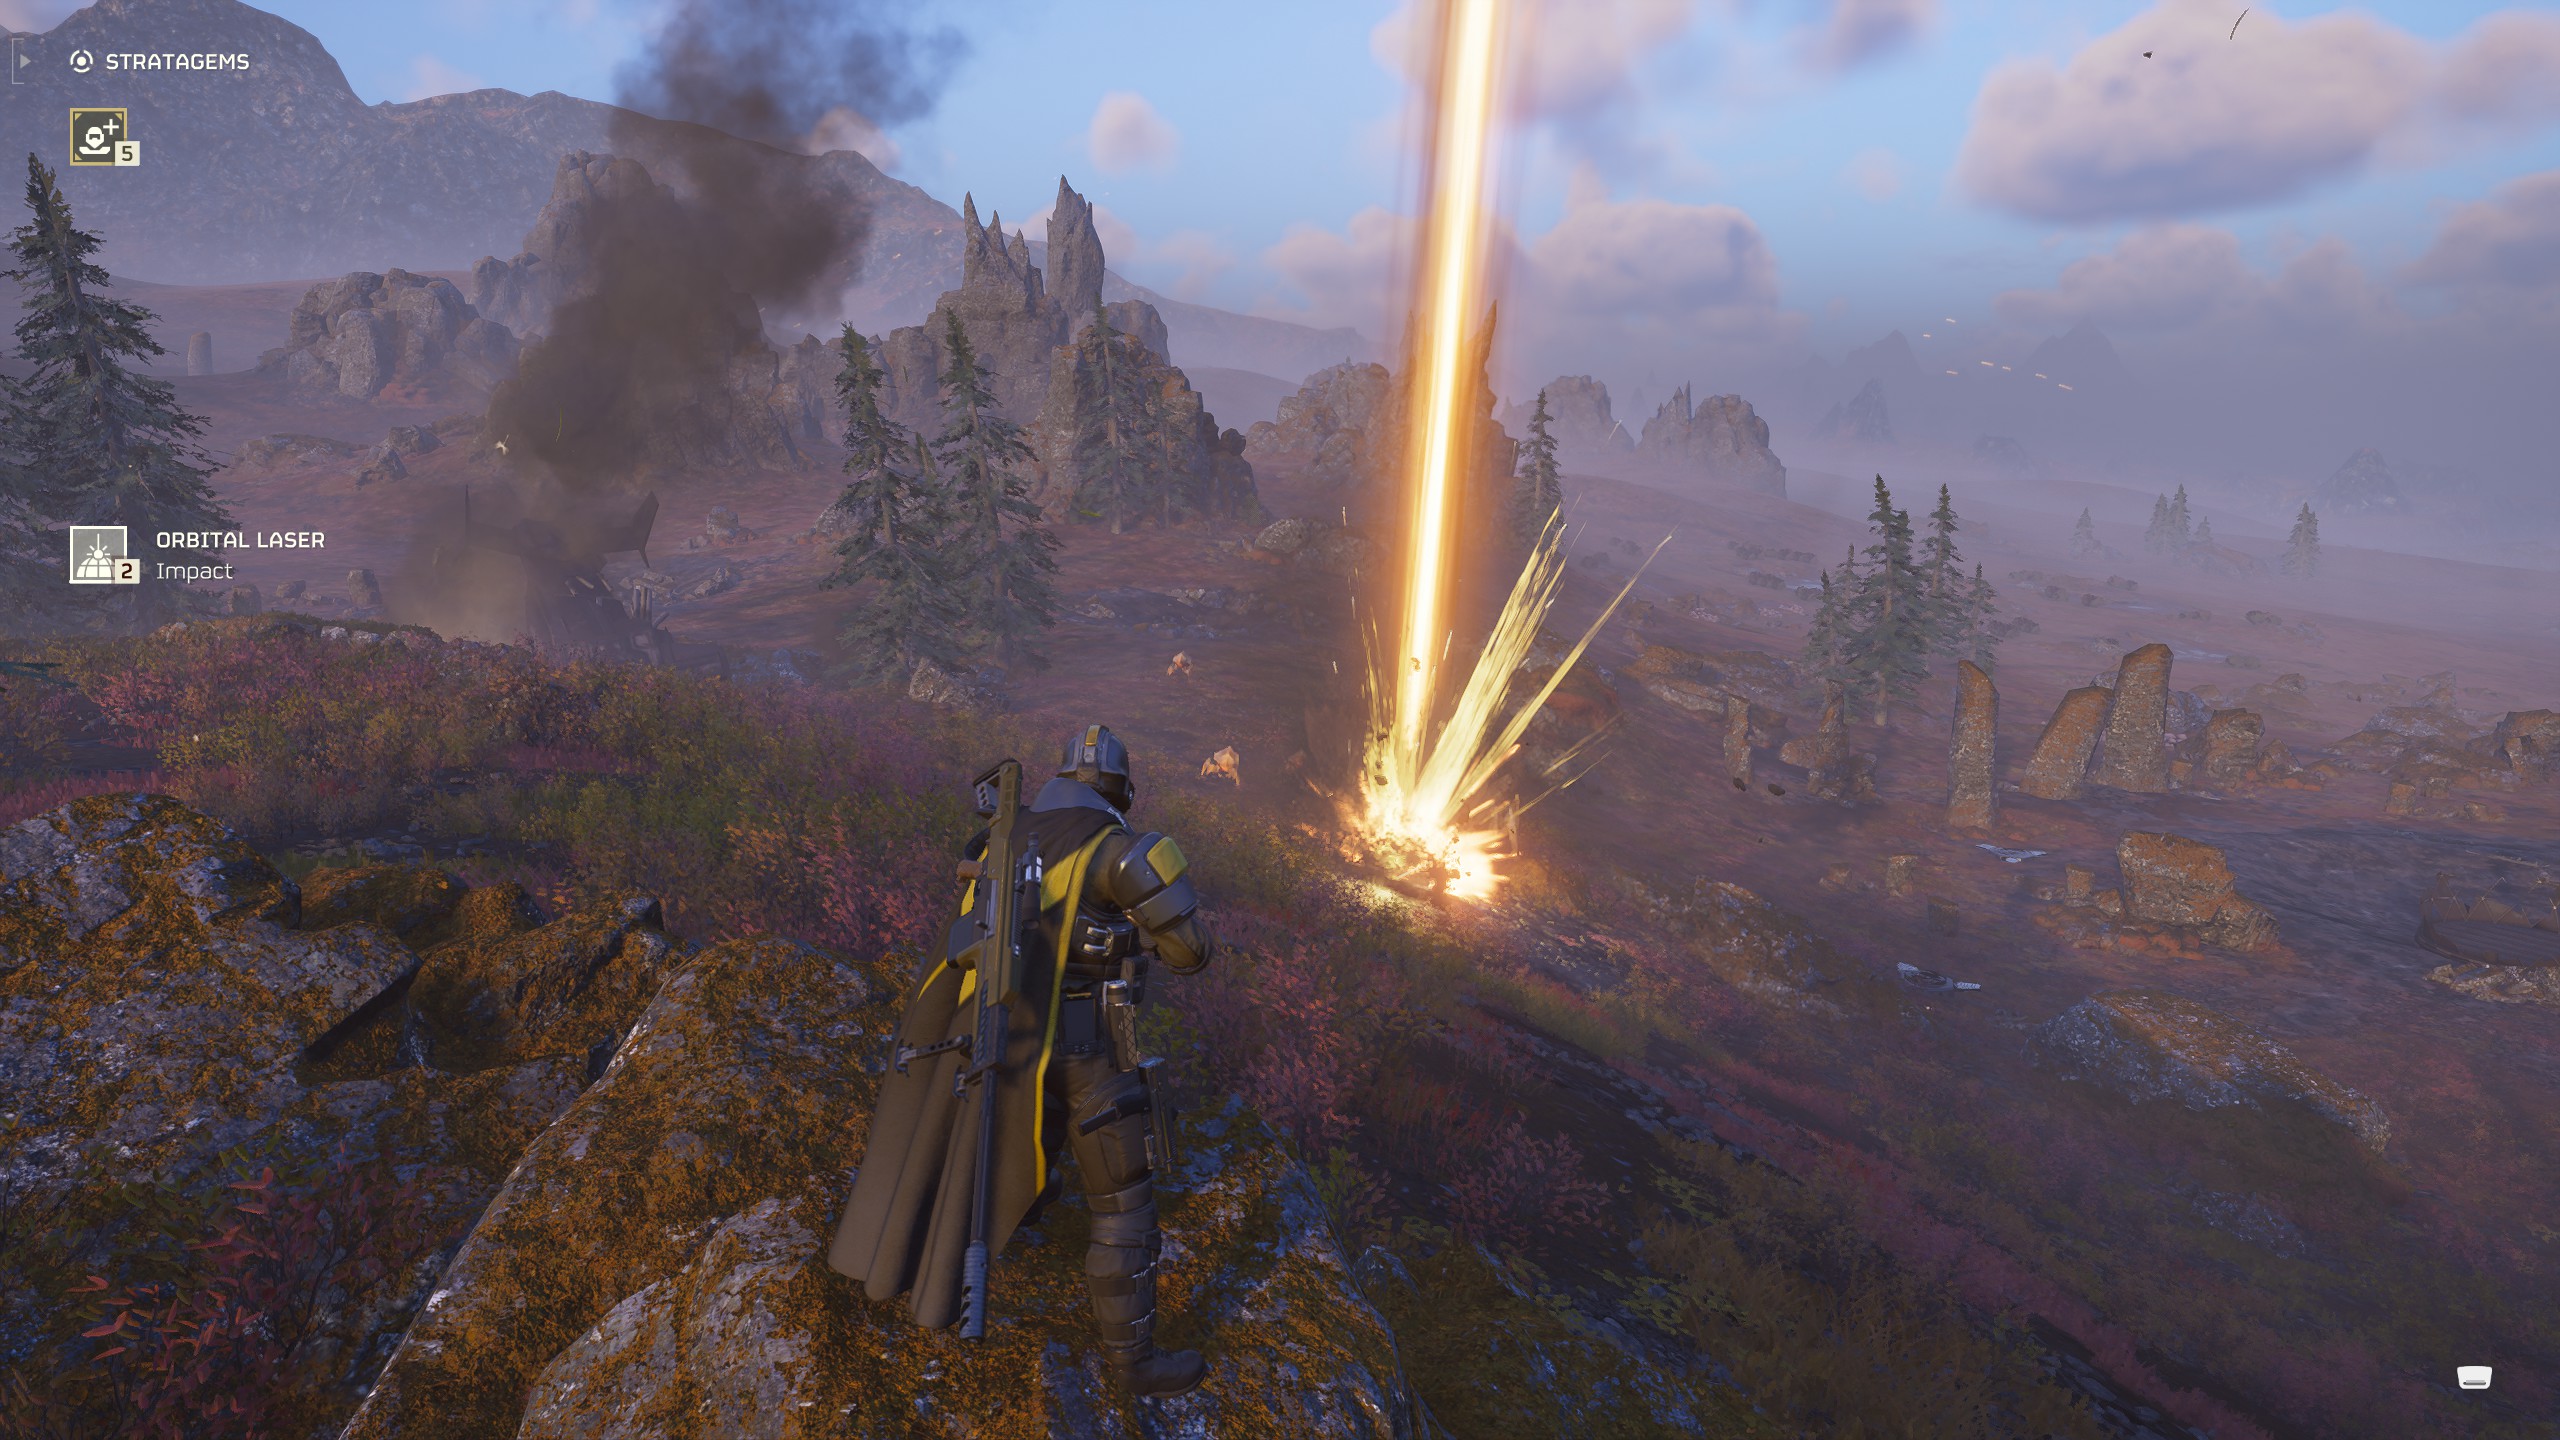
Orbital Laser
The Orbital Railcannon Strike is the most effective Stratagem for giant armoured enemies, because it has limitless makes use of, and mechanically targets the largest enemy within the space. Nonetheless, I personally assume the Orbital Laser is extra versatile. This Stratagem fires a protracted beam that strikes between every enemy within the space, whereas additionally setting the bottom on fireplace for further harm.
It is the proper capacity to take care of a big armoured goal, throw down on a bug breach, or if you happen to’re working away from a swarm to extraction and wish a fire-and-forget capacity that’ll cowl your retreat. The one factor to be careful for is if you happen to’re standing between the beam and an enemy it needs to soften, however you’ll be able to at all times dodge out of the best way.
Hangar
Eagle Cluster Bomb
This Stratagem is ideal for coping with giant teams of enemies, and because it’s the one Eagle capacity with 4 makes use of, you will get extra bang to your buck between every resupply. Admittedly, this Stratagem is annoying for teammates if you happen to use it incorrectly, however you simply have to contemplate that the bombs will drop in a line horizontally to the place you throw the beacon. Simply be sure to offer it just a little further distance and you may shortly be capable of decide its AoE.
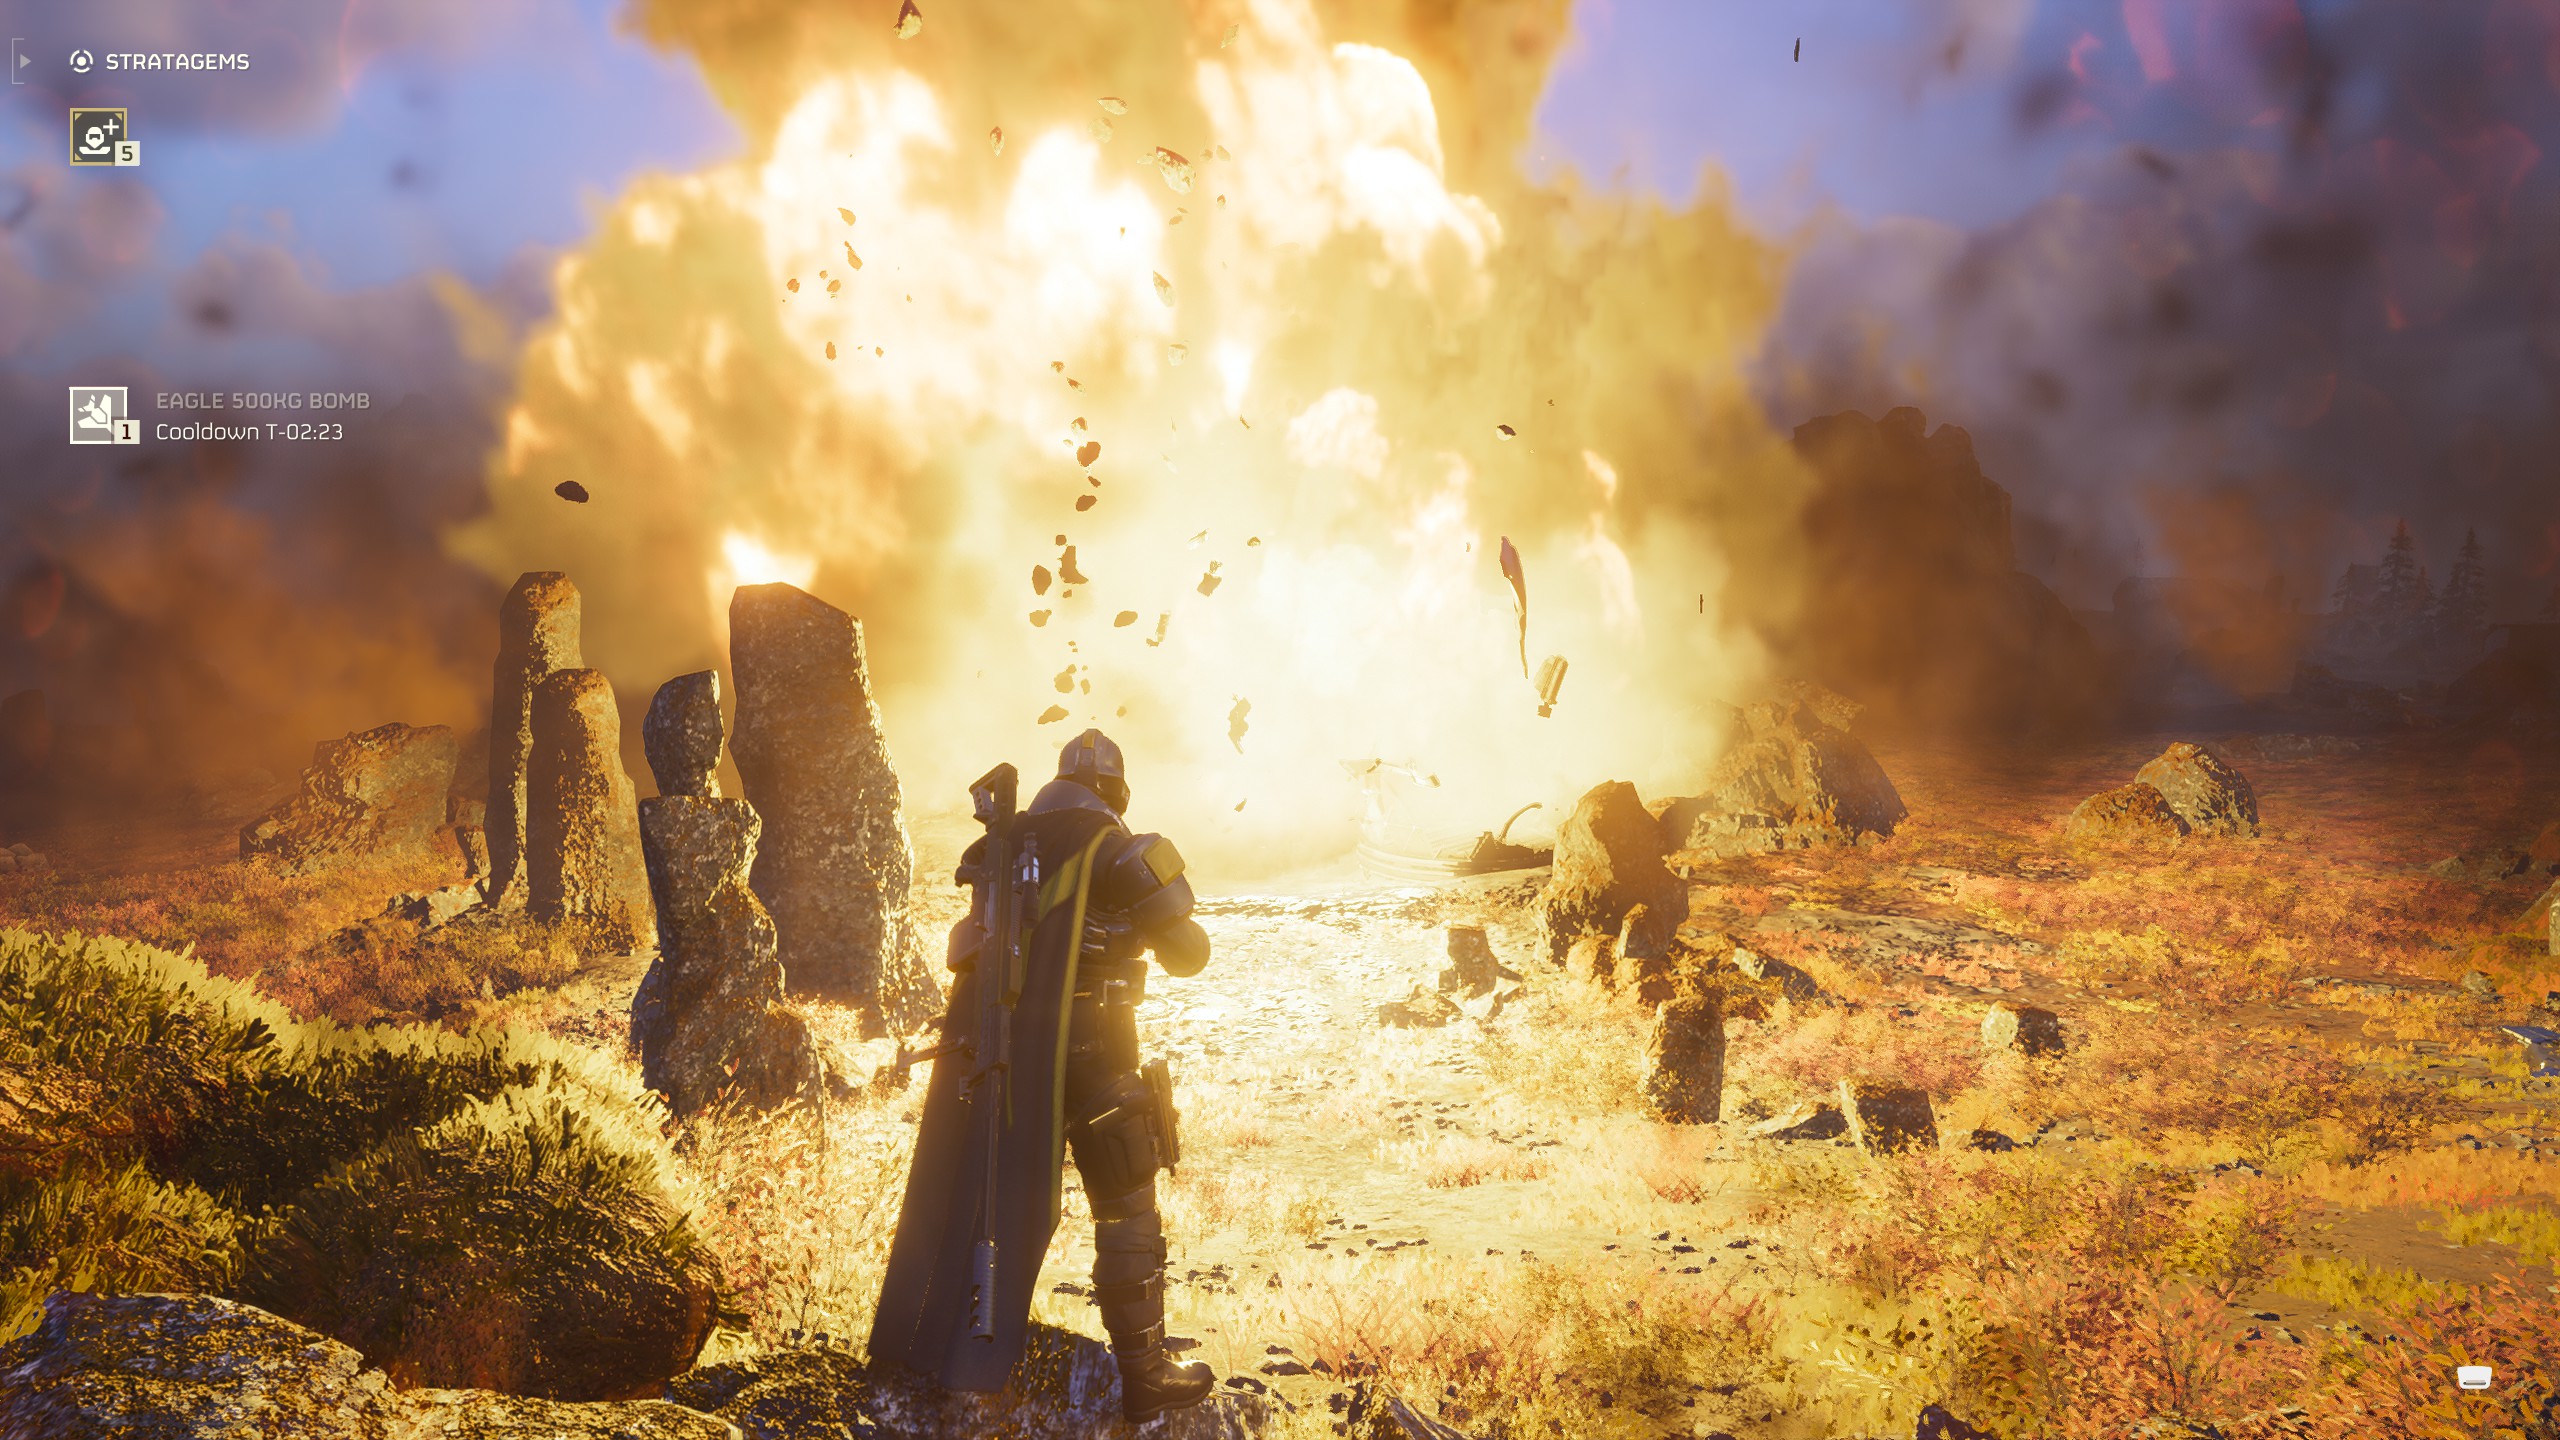
Eagle 500KG Bomb
Although fairly impractical, the 500KG bomb could be very fulfilling to make use of. Throw down the beacon and some seconds later a huge explosion will decimate something within the space. Although its restricted variety of makes use of make it a poor selection compared to others, if you happen to simply need the largest explosion within the sport at your fingertips, it is a enjoyable Stratagem to throw in the direction of a big focus of enemies or a giant bug nest.
Bridge
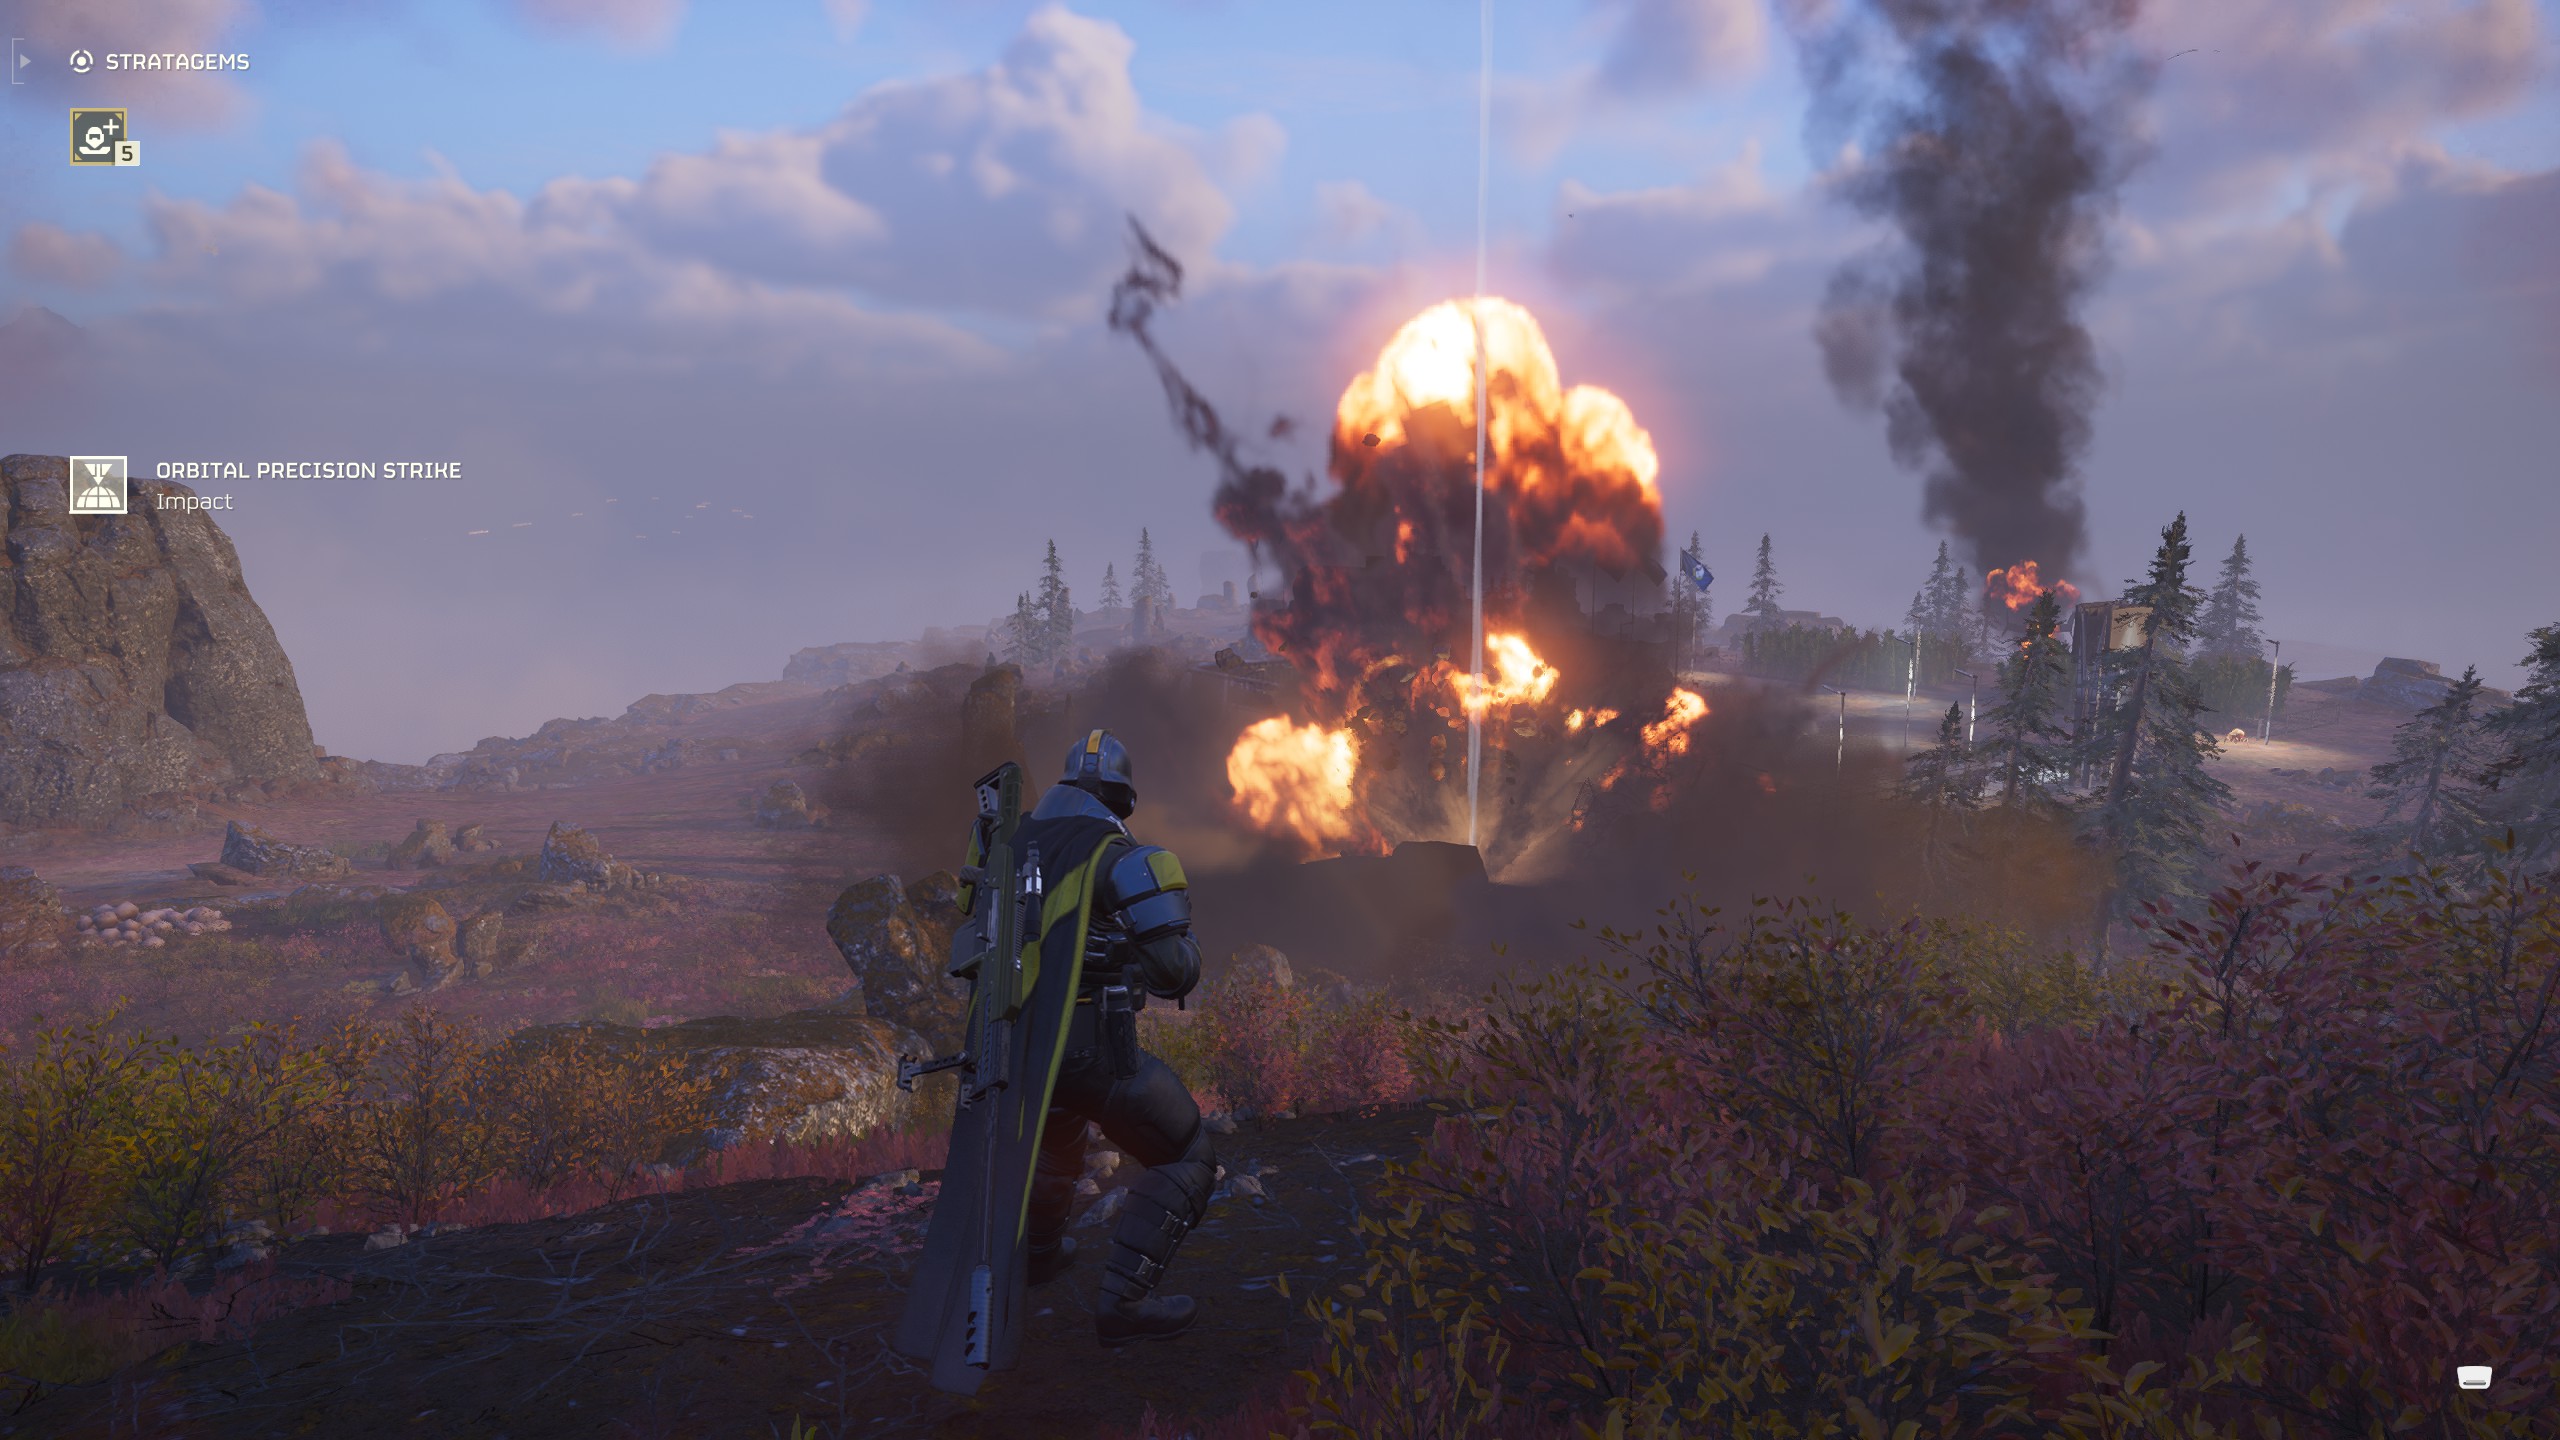
Orbital Precision Strike
Between its brief cooldown and limitless variety of makes use of, the Orbital Precision Strike is the most effective Orbital bombardment. You do not want an enormous space of impact with an Orbital Stratagem—you are often both concentrating on a bug gap or a particular armoured enemy, and also you’re higher off utilizing the Eagle Stratagems if you wish to take care of massive teams as a substitute. Reasonably than a large rolling bombardment that stops you getting into an space, kills your teammates, and nonetheless misses what you needed to hit, this focused strike is much better at getting the job finished.
Defend Generator Relay
You will get a private Defend Generator Pack for coping with ranged fireplace within the Engineering Bay, however the Defend Generator Relay is a greater choice. It has a considerably shorter cooldown and offers cowl to your total squad, supplying you with all a quick second of respite from the enemies firing at you.
Engineering Bay
Provide Pack
Undoubtedly the most effective Stratagems within the sport; when your capacity to kill stuff hinges on ammo, having extra of it’s by no means a nasty factor. The Provide Pack carries 4 containers that you need to use to resupply your teammates, or your self by urgent 5 or down on the D-pad on a controller. What’s even stronger is that you could decide up ammo containers to refill your pack, that means Provide Drops by no means go to waste. Should you’re working a Machine Gun, this is usually a potent combo as you refill your ammo from the pack and hold blazing away.
Grenade Launcher
Whereas you have to watch out firing this close to teammates, the Grenade Launcher is properly price it even when only for its capacity to shut bug holes at a distance with out having to eat into your grenades, resupply to get extra, or use an Orbital Strike. You may also use the Grenade Launcher to destroy Spore Stalks or antenna arrays from far-off, typically making it a no-nonsense instrument for finishing sub-objectives. It is actually good at killing stuff, too.
Robotics Workshop
Gatling Sentry
There is not all that a lot to say in regards to the Gatling Sentry apart from that it is a greater model of the fundamental Machine Gun Sentry and has the very same cooldown. After all, placement is essential by way of turrets, particularly if you happen to do not wish to get shot within the again, so make sure to whack them down the place they will hit the enemy and never you.
“Guard Canine”
My private favorite backpack; the Guard Canine is a drone that follows you round and provides you 360 cowl, capturing something that comes shut when it isn’t on cooldown in your backpack. It is good for if you happen to’re reloading or working away from enemies. One factor I’ll be aware is that it is horrible if you happen to’re making an attempt to be stealthy, since it’s going to shoot any enemies in vary it doesn’t matter what. Should you’d favor an vitality weapon model, you’ll be able to seize the “Guard Canine” Rover within the Engineering Bay as a substitute, however they’re simply completely different flavours of the identical Stratagem.
Rocket Sentry
The Mortar Sentry is among the most annoying Stratagems within the sport for pleasant fireplace. It is inconceivable to inform the place these shells are going to land subsequent. The Rocket Sentry is a significantly better choice. Whereas it’ll actually damage you if it spots an enemy standing proper subsequent to you and blasts it—as with all turret—the truth that it really works primarily based on line of sight means that you could place it in such a manner that it will not homicide you all.
[ad_2]
Source link
